Notifications

10 minutes, 52 seconds
-12 Views 0 Comments 0 Likes 0 Reviews
If you're searching for a stylish, budget-friendly, and easy-to-install way to upgrade your walls, V-Groove Wall Panels might just be your perfect match. Whether you’re aiming for a cozy cottage aesthetic, a sleek modern finish, or a rustic farmhouse vibe, these panels are versatile enough to fit just about any interior design.
This DIY guide walks you through the full installation process of V-Groove wall panels step by step. With a few tools, a free weekend, and a little patience, you can transform your space like a pro—no need to hire a contractor. Let’s dive in!
Before grabbing your tools, it's important to understand what V-Groove wall panels are.
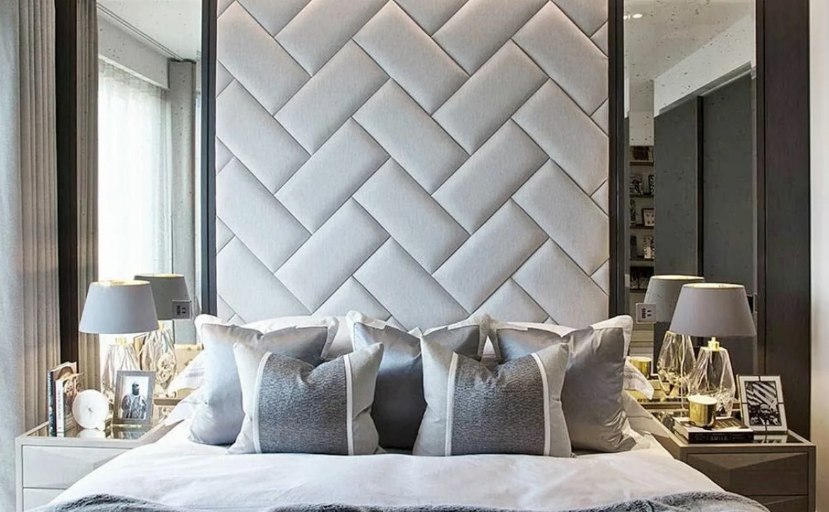
V-Groove panels are interlocking boards made of wood, MDF, or PVC, with a “V” shaped groove at the joints. When installed side by side, the grooves create a neat, shadow-lined look. These panels can be painted, stained, or left natural depending on the finish you desire.
They're often used in living rooms, hallways, bedrooms, mudrooms, and even ceilings. Their clean lines and timeless look make them a go-to material for both classic and contemporary interiors.
Here’s your checklist before getting started:
Measuring tape
Level
Stud finder
Pencil
Circular saw or miter saw
Jigsaw (for outlets and curves)
Hammer or nail gun
Utility knife
Caulk gun (optional)
Sandpaper or sanding block
V-Groove wall panels
Construction adhesive or panel glue
Finish nails (if using a nail gun)
Wood filler (for covering nail holes)
Primer and paint or wood stain (optional)
Trim or molding (for a finished edge)
Pro Tip: Buy about 10% more paneling than your wall’s square footage to account for cuts and mistakes.
Start by planning your wall design. Do you want the panels to run vertically or horizontally? Vertical panels make ceilings appear taller, while horizontal installation can make a room feel larger.
Measure the wall dimensions carefully and sketch out how the panels will be placed. This helps you avoid awkward cuts at the end of the wall.
Just like hardwood flooring, V-Groove panels need to acclimate to your room’s temperature and humidity. Stack them flat in the room where you’ll install them for 48 hours. This prevents warping or shifting later.
Ensure the wall surface is clean, dry, and smooth. Remove old wallpaper or protruding nails and fix any large holes or bumps.
Use a stud finder to locate and mark the wall studs with a pencil. You’ll be nailing or gluing panels to these for secure attachment.
Measure each panel to fit your wall layout. If you have outlets, light switches, or windows, mark and cut around them using a jigsaw.
Use a circular or miter saw for straight cuts and a sanding block to smooth any rough edges.
Apply a construction adhesive or panel glue to the back of the panel in a zig-zag pattern. This provides extra hold, especially on drywall or uneven surfaces.
Begin at one corner of the wall. Place the first panel with the groove side facing out and make sure it’s perfectly level.
Secure the panel to the wall by nailing it into the studs or applying pressure if you're using glue only. A nail gun speeds up the process, but you can use a hammer and finish nails just as effectively.
Continue placing the panels by locking the tongue into the groove of the previous one. Tap lightly with a rubber mallet if needed.
Make sure each panel is level before securing it.
Once all the panels are installed, use trim or molding to hide the edges at the ceiling, floor, and corners. You can also add a chair rail for a more decorative touch.
Use wood filler to cover nail holes and sand them smooth once dry.
If painting or staining, apply a primer first (for paint) or a wood conditioner (for stain). Then, add your finish of choice. Two coats are recommended for a rich and lasting look.
Looking to make your V-Groove wall panels pop? Here are a few creative ideas:
Accent Wall: Use a bold color like navy blue or charcoal gray to create a dramatic feature.
Ceiling Paneling: Flip the panels up and install them on the ceiling for a charming cottage or coastal vibe.
Two-Tone Walls: Paint the bottom half of the wall with V-Groove panels and the top with a coordinating wall color.
Frame It: Use decorative molding to frame a section of the wall with V-Groove panels, almost like wall art.
Mudroom Bench Backdrop: Add panels behind a built-in bench with hooks for an inviting entry space.
Even seasoned DIYers can make mistakes. Here are some pitfalls to avoid:
Skipping Wall Prep: Dirty, uneven, or unstable walls can cause panels to come loose.
Not Leveling the First Panel: If the first panel is crooked, the entire installation will be off.
Forgetting to Acclimate Panels: This can lead to gaps or buckling after installation.
Using the Wrong Nails or Adhesive: Always choose the recommended adhesive and nail type for your panel material.
Overlooking Outlet and Switch Covers: Don't forget to turn off power and make safe, clean cuts around electrical outlets.
Once installed, V-Groove wall panels are easy to maintain:
Dust regularly with a soft cloth or duster.
Wipe spills or stains immediately with a damp cloth.
Avoid harsh chemicals if the panels are painted or stained.
Repaint or restain every few years for a fresh look, depending on wear.
Here’s a quick recap of why DIYers and pros alike love this wall paneling style:
Timeless style: Fits traditional, farmhouse, coastal, or modern interiors.
DIY-friendly: Lightweight, easy to cut, and simple to install.
Affordable: Great visual impact without breaking the bank.
Customizable: Stain, paint, or leave natural depending on your style.
Durable: Holds up well with proper care and maintenance.
Whether you're revamping a single wall or an entire room, V-Groove wall panels are a smart, stylish choice that adds character and warmth to any home.
Installing V-Groove wall panels may seem intimidating at first, but with the right tools and a little patience, it’s a project any motivated homeowner can tackle. Not only will you save on labor costs, but you’ll also enjoy the satisfaction of transforming your space with your own hands.
Remember to measure twice, cut once, and always start level. With this guide, you’re well on your way to making your walls look like a professional design statement—without the professional price tag.
Yes! V-Groove panels can be installed directly over drywall using adhesive and/or finish nails. Just make sure the surface is clean and level for the best results.
While both have a similar look, V-Groove panels have a distinct “V” shape where the boards meet, giving a cleaner, more refined line. Shiplap has a flat overlap that creates a shadow gap instead.
You can do either. Painting before installation can be easier for getting into the grooves, but touch-ups may be needed after nailing and caulking. If you prefer a seamless look, paint or stain once they’re fully installed.

