Notifications

19 minutes, 23 seconds
-69 Views 0 Comments 0 Likes 0 Reviews
A makeup bag has a smell. Clean soap on damp bristles. A hint of your face mist. Maybe rose water, maybe that soft powdery note that sits in the air when you get ready for Eid, a wedding, or a quick dinner at a cousin’s place.
Now picture the other kind of smell. Old foundation trapped near the ferrule. Dust mixed with sweat. Karachi humidity, Lahore traffic, a long day at work, and then you tap on makeup again. The mirror shows it too. Patchy base. Streaks around the nose. Blush that skips.
A flawless finish rarely comes from “more makeup.” It comes from the right tools, used the right way, and kept clean enough to behave. This guide breaks down the best makeup brushes and tools for a flawless finish in a simple, Pakistani-friendly routine that stays realistic, even on busy days.
A smooth face looks smooth because three things work together.
Skin sits calmly under makeup: Hydration matters more in winter, oil control matters more in summer. Pakistan’s weather swings hard. Dry indoor air in winter can cause base cracking, while humid months can cause makeup to melt fast.
The tool matches the product: A dense brush can turn a creamy foundation into streaks if the technique is wrong. A fluffy brush can make a cream blush lift your base.
The motion seals the deal: Pressing, buffing, and sweeping create three different finishes. Most “bad makeup days” happen because the motion does not match the formula.
Keep that in mind as you choose your kit.
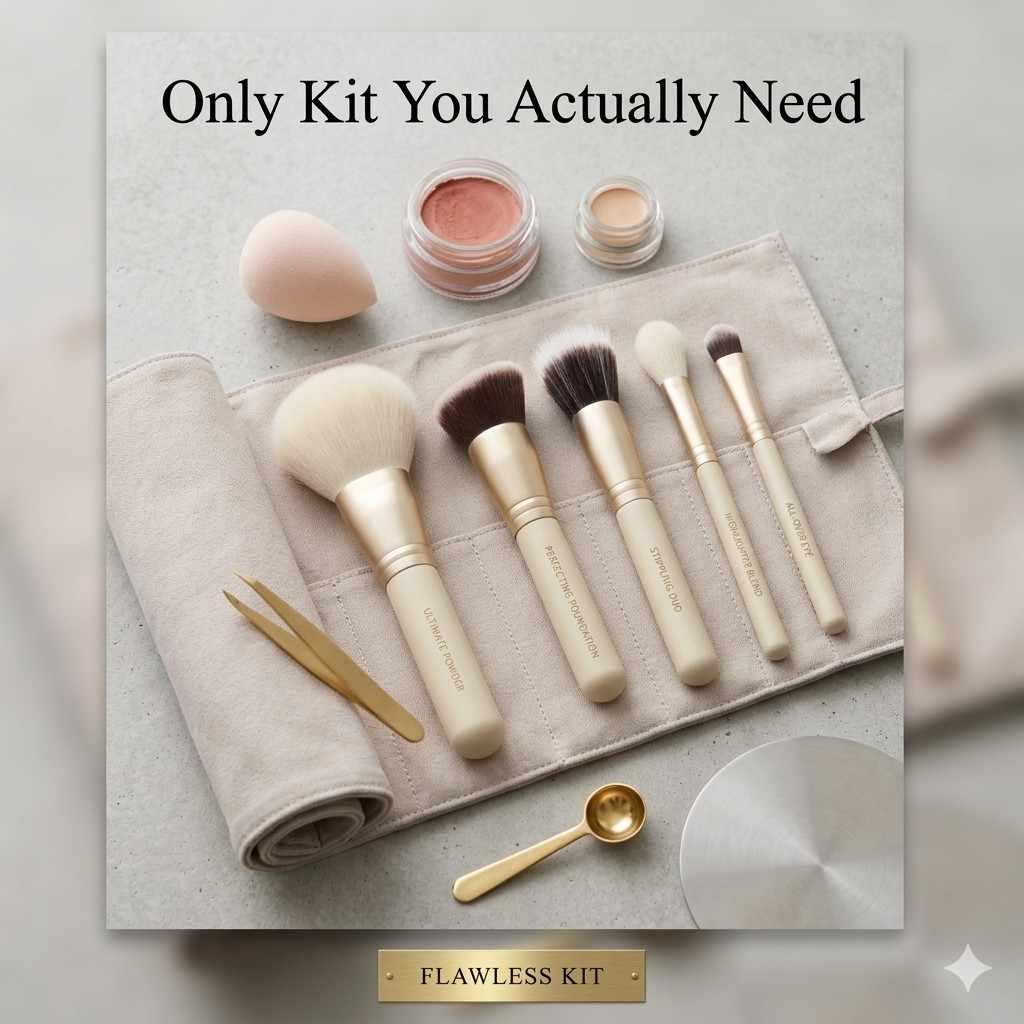
You do not need a drawer full of brushes to look polished. A small kit can cover daily makeup, office makeup, and full glam.
Foundation Buffing Brush (Dense, Rounded): This brush gives fast coverage and blends edges cleanly. Look for soft synthetic bristles that bounce back after you press them.
Concealer Brush (Small, Tapered): A tiny tapered brush reaches the inner corner and around the nose. It also helps spot conceal without moving your foundation.
Powder Brush (Large, Fluffy): A big fluffy brush sets makeup without packing powder into pores. Pressing powder can come later. This brush keeps the first layer light.
Blush Or Bronzer Brush (Medium, Slightly Tapered): A medium brush gives control on cheeks and jaw. It helps avoid the “one stripe” look.
Crease Blending Brush (Fluffy, Dome Shape): Eye makeup looks expensive when the edges look soft. A crease brush does that job better than fingers.
Flat Shader Or Packing Brush (Short, Flat): This brush presses shimmer or matte shadow onto the lid. Pigment shows up better, and fallout drops less.
Angled Brow And Liner Brush: Brow powder, brow pomade, gel liner, soft wing. One brush can do all of it.
Small Smudger or Detail Brush: Great for lower lash line, inner corner highlight, and small corrections around lipstick edges.
A quick note for beginners: this kit is also the best makeup brushes for beginners because each brush has one clear job. Confusion drops, and your routine feels lighter.
Price helps, but shape and feel matter more. Use this checklist before you buy.
Synthetic bristles usually work best with liquids and creams. They soak up less product and clean faster. Natural hair brushes can feel softer for powders and can diffuse color well.
A simple rule keeps things easy:
Creams and liquids often behave better on synthetic surfaces. Powders blend easily on fluffy brushes, synthetic or natural.
Sensitive skin? Synthetic tends to feel safer for many people because it traps less product deep inside the bristles when cleaned well.
Dense brushes push product into skin, so coverage looks higher. Fluffy brushes float the product on top, so the finish looks softer.
Think of it like this:
Dense + rounded: coverage, buffed base
Dense + flat: precise placement, more “makeup-like” finish
Fluffy + tapered: soft color, diffused edges
Small + pointed: detail, targeted blending
A brush can feel soft and still fall apart. Do two quick checks:
Wiggle test: Hold the ferrule (the metal part) and gently wiggle the head. Loose movement usually turns into shedding later.
Pull test: tug lightly on a few bristles. One or two hairs can happen. A small “hair fall” party is a no.
A flawless face depends on matching brush type to product texture.
Three common types exist, and each gives a different finish.
Buffing brush (dense, rounded): Best for medium to full coverage and a smooth, even base. Use it when you want a polished finish for events, photos, or long days.
Flat foundation brush (paddle shape): Best for laying foundation quickly, then blending after. Alone, it can leave lines. Pair it with a sponge or a buffing brush for the final blend.
Stippling brush (duo-fiber, airy feel): Best for light layers and a skin-like finish. It can take longer, yet it helps when the heavy foundation looks cakey.
A technique tip that changes everything:
Start by pressing the product into the skin on the areas that need coverage. Then buff in small circles only on edges. Press first, blend after. Streaks drop fast.
This question comes up for a reason. Both tools work, but they give different results.
A foundation brush usually gives:
More coverage using less product
Faster blending around the nose and hairline
Cleaner placement on acne marks
A beauty sponge usually gives:
A softer finish because it presses the product into the skin
Better “melted” edges, especially on textured cheeks
Quick touch-ups when makeup looks heavy
A pro trick that fits real life: use the brush first, then tap a damp sponge on the edges. That “second tap” can turn a good base into a great one.
A small tapered concealer brush lets you place product only where needed. Tap concealer on the darkest area, then blend outward. Heavy layers under the whole eye crease faster, especially in heat.
Setting tip for Pakistan’s humidity: press a tiny amount of powder only on the crease-prone area. A large fluffy brush can dust the rest lightly.
Cream blush looks fresh, but it can lift the base if you rub it around.
Try this:
Cream blush: Use a dense, soft brush and tap it on.
Powder blush: Use a fluffy brush and build slowly.
Bronzer: Use a medium-tapered brush for control along cheeks and forehead.
Highlighter: Use a small tapered brush on the high points, then blend the edge so it looks like skin, not glitter.
One more reality-based tip: sweat happens. Cream products can slide in summer. Powder on top can lock them in without making the face look dry.
Eye makeup looks messy when the brushes are wrong.
A simple set works:
Packing brush for lid color
Crease brush for blending
Small detail brush for lower lash line
Blend edges first, add shimmer later. That order reduces fallout and keeps the look neat.
Brushes matter, but tools complete the routine. Think of this part as your smart add-ons, not extra clutter.
Makeup Sponge: Great for pressing makeup into skin and fixing harsh lines fast.
Powder Puff: Perfect for setting the T-zone. Pressing powder using a puff can help makeup last longer in humid weather, especially on oily skin.
Eyelash Curler: Curling lashes can lift the whole face even before mascara goes on.
Tweezers: A clean brow line frames the face. Tiny grooming changes the final look more than people think.
Brush Cleansing Mat or Textured Pad: Speeds up cleaning and helps remove old product stuck near the base.
If you prefer shopping in Pakistan without guessing authenticity, TheSkinFit works well as a curated space where you can find trusted Brushes and Accessories without the “random seller” stress.
Dirty brushes do two annoying things. They make blending harder, and they can trigger bumps on skin that already deals with heat, pollution, and long days.
A simple schedule keeps it doable:
Foundation and concealer brushes: 1 to 2 times a week
Cream product brushes: weekly
Powder brushes: every 1 to 2 weeks
Eye brushes: weekly if you use them often
Sponges: clean after each use if possible, or at least every few uses
Busy week? Do a quick clean, then deep clean on the weekend.
Use a brush, cleansing spray, or gentle micellar water on a tissue. Swipe the brush back and forth until the color stops coming off. Let it air dry.
A gentle shampoo or brush soap works well.
Step-by-step
Wet bristles using lukewarm water. Keep the ferrule dry.
Add cleanser to your palm or a cleaning mat.
Swirl gently until the makeup lifts.
Rinse until the water runs clear.
Squeeze softly, reshape the head, then lay it flat to dry on a towel.
Drying tip: A slight downward angle helps water move away from the ferrule. Wet ferrules loosen glue, and that leads to shedding.
A brush set feels easier, but single brushes can be smarter.
A set works well if you are building your kit from scratch. It also helps students and beginners who want one clean purchase.
Single brushes work best if your current makeup looks wrong in one area. Streaky base? Upgrade the foundation brush. Muddy eyeshadow? Get a good crease brush.
A practical approach for most people: start with a small set, then upgrade two brushes you use daily. That keeps spending controlled and results visible.
Small habits can ruin great products.
Too much pressure: Hard buffing can move foundation around and create patchy areas. Light pressure blends better.
Using one brush for everything: A powder brush cannot do concealer. A dense base brush cannot blend eyeshadow softly.
Skipping clean brushes during events: A wedding week brings heavy makeup and late nights. Build a “mini wash” habit so your base stays smooth.
Overloading product: Thin layers look better, last longer, and crease less in heat.
Keep this short list on your phone.
Soft bristles that bounce back
Dense brush for base, fluffy brush for powder
Small tapered brush for concealer
One blending brush for the eyes
Easy cleaning plan you can follow
A flawless finish looks fancy, yet the routine stays simple when the tools match the job.
Yes, if the shape is right and the bristles feel soft. A budget brush can blend well when it does not shed, and the head keeps its shape after washing. Spend more on the brush you use most, usually the foundation and blending brush.
Streaks often come from a flat brush used alone, too much product, or a dry base. Use smaller amounts, press first, then buff edges. A damp sponge tap at the end can smooth lines fast.
Loose ferrules, weak glue, harsh washing, and soaking the ferrule in water can cause shedding. Gentle cleaning and flat drying help a lot. Tugging on wet bristles also makes hair fall worse.
Separate brushes help, but you can manage with one if you clean between uses. Cream products leave residue that can turn powder muddy. A quick clean with a tissue can fix that during busy days.
Most vegan brushes are synthetic because natural hair comes from animals. Always check the label if vegan matters to you.
A small tapered concealer brush gives control and avoids heavy layers. Tap and blend outward. A big fluffy brush can set lightly after, but do not pack powder thickly.
Patchy blush often happens on dry skin or on sticky base makeup. Use a tapping motion for cream blush. Use a fluffy brush for powder blush and build slowly. A light dust of translucent powder before blush can help on oily skin.
A puff presses powder into the skin, so it helps makeup last longer in humidity. A fluffy brush gives a lighter finish. Many people like puff for the T-zone and brush for the rest of the face.
Six brushes can cover daily makeup well: foundation, concealer, powder, blush/bronzer, crease, and packing brush. Add an angled brow brush later if needed.
Use a brush guard or a simple pouch that keeps heads protected. Let brushes dry fully before packing. Dirty, damp brushes grow smell and lose shape faster.
A perfect base is not magic. Good tools, simple technique, and clean bristles create that “skin-like” look people notice up close. Keep the kit small, learn the motions, and your mirror will start agreeing with your effort.

